

photos by Christopher Luxem
 This is a photo of the head before I cleaned it or did anything else to it. I dusted using a rubber dust pick up and an air hose. I cleaned all the sculpted parts with alcohol.
 Next, I used a dremel to get rid of the sculpted parts that were breaking, cracked, or sticking out in weird ways. I also drilled out new nose holes. Not too deep, of course!
 Then I airbrushed everything I re-sculpted. I tried not to take away too much from the vintage look of the rug, so I didn't do major surgery on this guy. I didn't want to have to take off the nose or mouth or eyes completely. I think that the look and feel of this guy is important. He had crazy eyes to begin with, so I just made sure to make them a bit more even, but not change them entirely.
 A 3/4 view. All airbrushed.


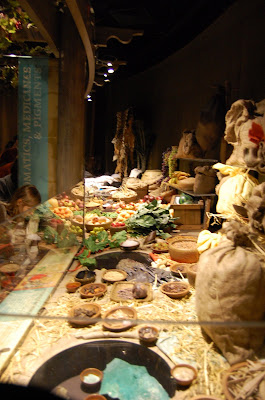
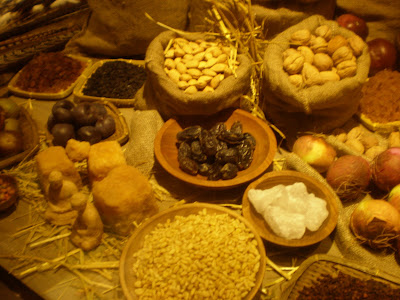
 The Marketplace scene!


 The ship, with the pots I worked on.
 I sculpted the camel's fur back on once the head was attached to the neck. I also applied the hair in the photos above.
 The camels are taking over.
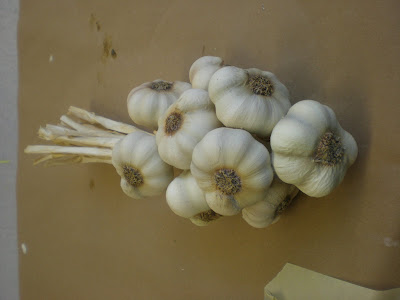
 I painted these garlic
 Then made them into a rope!
 Oregano before
 Oregano after I painted it
 Oregano finished!
 One of four camels, fresh out of the mold. Each piece needs 2 layers of "gel", 2 layers of fiberglass resin (laying the fiberglass then wetting it down with stippling a brush over it) and then an edge layer of more fiberglass (then wet) then a gel to seal the edges. So, each piece gets about 9 layers before we can close it up. We hang it upside-down to set it so it doesn't collapse inside the mold.
 One layer of gel-like polyester resin.
 The mold, taken apart. There are about 15 pieces total.
 The large abdomen piece.
 Another view.
 Pots - replicas from a sunken ship thought to be from the silk road era(s). These are cast in smooth cast and these few are broken open. I sanded the edges of the break to make it look more like a ceramic break. I also chased seams, and sealed bottoms on a lot of these pots. There will be 50-75 total. There are 30 now, 1/2 finished. A long way to go.

 Unpainted Rhubarb. I sculpted the two parts together. The leaves are vacu-formed plastic to plaster molds of leaves, and the stems are cast from real rhubarb stems.

 Kohlrabi - bulbs cast from real vegetables, leaves vacu-formed and in this picture, I am grafting them together.
 Indian gooseberries - I sculpted these, Steve helped me cast them, then I painted them.
  1/2 painted gooseberries.
 Peepul figs - same process as the gooseberries.